
How to Disassemble a Foam Soap Dispenser Pump - Xinda Pelosi
How to Take Apart a Foam Soap Dispenser Pump
As professionals in the industry know, a foam soap dispenser pump is a crucial component of efficient and sanitary dispensing systems. Regular maintenance and occasional repairs require you to take apart the pump. This guide provides a straightforward, professional method to disassemble a foam soap dispenser pump efficiently.
Importance of Disassembly
Ensuring your foam soap dispenser pump is operating optimally not only extends its lifespan but also guarantees consistent performance. Disassembly is an essential process for cleaning, troubleshooting, or replacing components, ensuring hygiene standards are maintained.
Tools and Materials Needed
Before starting the disassembly, gather the following tools:
- Small screwdriver (Phillips or flathead)
- Needle-nose pliers
- Clean cloths
- Mild cleaning solution (if cleaning is required)
Step-by-Step Disassembly Process
1. Preparation:
Ensure that the dispenser is both empty and dry. This prevents leftover soap from spilling during the disassembly process.
2. Remove the Pump from the Bottle:
Firmly grasp the pump and twist it counterclockwise. It should unscrew easily from the bottle.
3. Disassemble the Actuator:
The actuator is the part you press down to dispense soap. Using your hands, gently pull the actuator away from the pump housing. It should release with a slight tug.
4. Detach the Stem:
With the actuator removed, you'll notice the stem connected to the pump mechanism. Use needle-nose pliers to gently pull the stem out. Be cautious not to break or bend it during removal.
5. Access the Spring and Valve:
Inside the pump housing, you'll find a spring and valve. Use a screwdriver to gently pry open the housing, allowing you to access the internal components. Take care not to damage the seal.
6. Inspect and Clean:
With the components separated, inspect them for wear or damage. Dip the parts in a mild cleaning solution and scrub with the cloth to remove any residue or buildup. Allow them to dry completely before reassembly.
7. Reassemble the Pump:
Follow the disassembly steps in reverse order to reassemble. Ensure each component fits snugly to maintain proper functionality.
Conclusion
Taking apart a foam soap dispenser pump need not be a daunting task. With these clear, concise steps, professionals can maintain their dispensers, ensuring longevity and optimal performance. Remember, regular maintenance not only promotes hygiene but also heightens user satisfaction by ensuring smooth operation.
For more professional insights and knowledge, explore our other guides and contact Xinda Pelosi for expert consultation tailored to your needs.
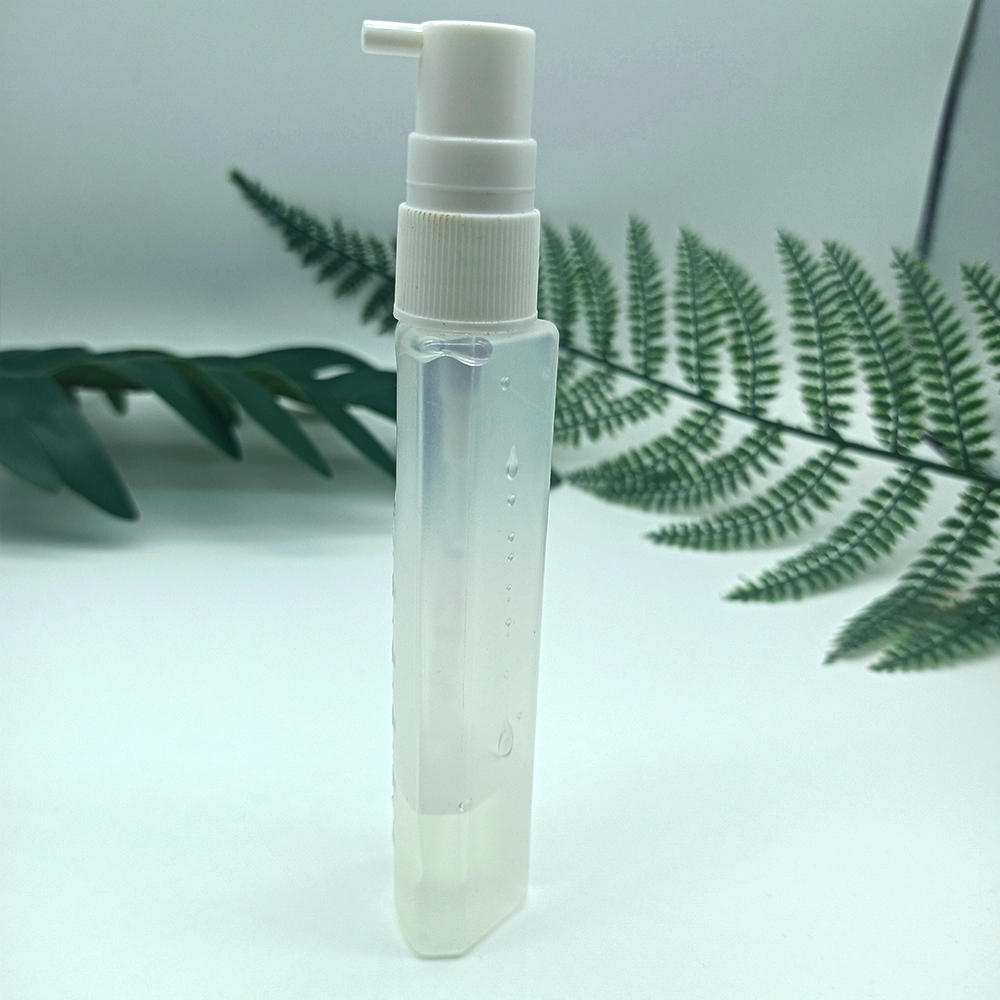
The Ultimate Guide to Choosing the Best Soap Foam Pump Dispenser for Your Business
Xinda Pelosi Best professional ceramic foam soap pump manufacturers and supplier brands
Eco-Friendly Custom Cotton Shopping Bags - Xinda Pelosi
How to Choose the Right Trigger Sprayer Manufacturer for Your Business
For payment
What is the trade terms and payment terms?
Trade terms: FOB &CIF ,C&F . Payment term : T/T , 30% as deposit , 70% before shipping .
Payment terms?
30%–50% in advance; the balance should be paid before shipment.
For Customization
Do you offer custom packaging or assembly?
Yes, if your project requires special needs or attention. Request a quote right away and tell us your special packaging or assembly needs!
My quotation will be more efficient and faster , if you can provide below information:
1. You want price per kg or per pc. if pc, please provide the size (width and repeat) of one prints
2. Material structure and thickness
3. The printing area and color
4. If possible, please provide a picture or artwork of the packaging
5. Your purchase QTY
For application
What's your product being used for?
Airless bottle in different materials, such as PP airless bottle, AS airless bottle, PCR airless bottle, all-plastic airless bottles, etc, have a volume of 5ml ml, 10 ml, 15 ml, 20 ml, 30 ml, 40 ml, 50 ml, 60 ml, 75 ml, 80 ml, 100 ml, 120 ml, 150 ml, etc.Dropper bottle in different materials, such as PET dropper bottle, PETG dropper bottles, Glass dropper bottles, etc., have volumes of 10 ml, 15 ml, 20 ml, 30 ml, 40 ml, 50 ml, 60 ml, 80 ml, 100 ml, etc.
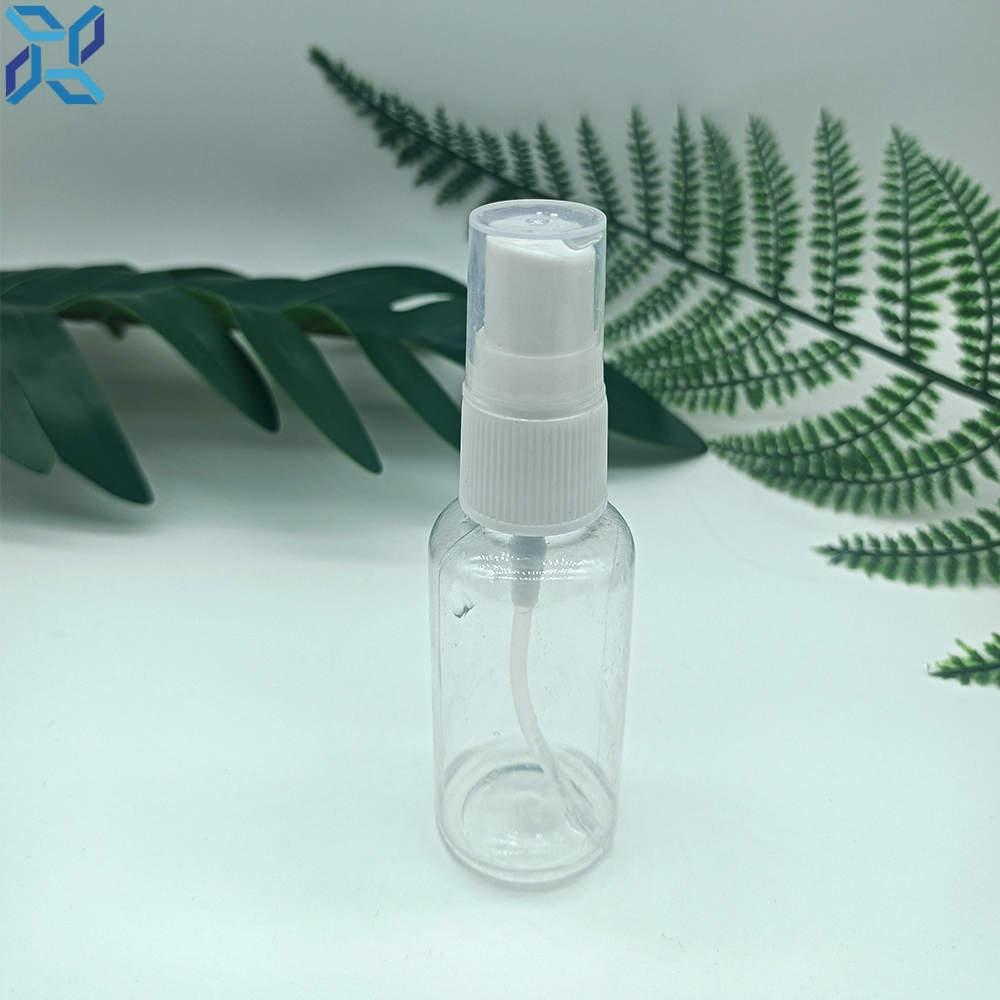
Fashioned Unique Design Custom Made Perfume Bottle Bulb Atomizer Spray
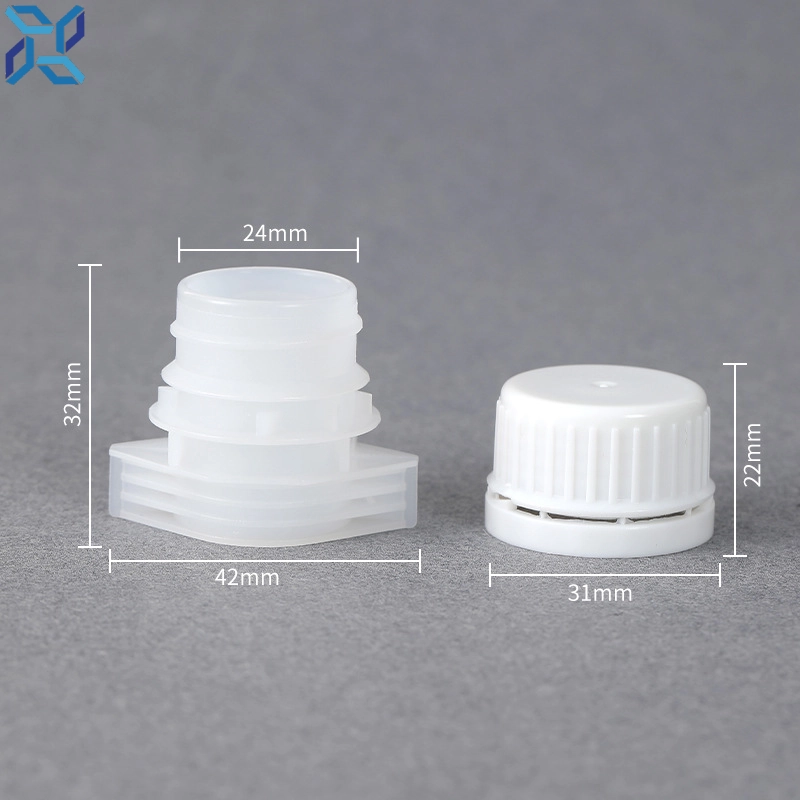
Customized white plastic spout pouch with cap manufacturers
Xinda Pelosi manufactures custom white plastic spout pouches with caps.
Perfect for your unique needs, our pouches offer superior quality and reliable sealing.
Get a quote today for your customized plastic spout caps.
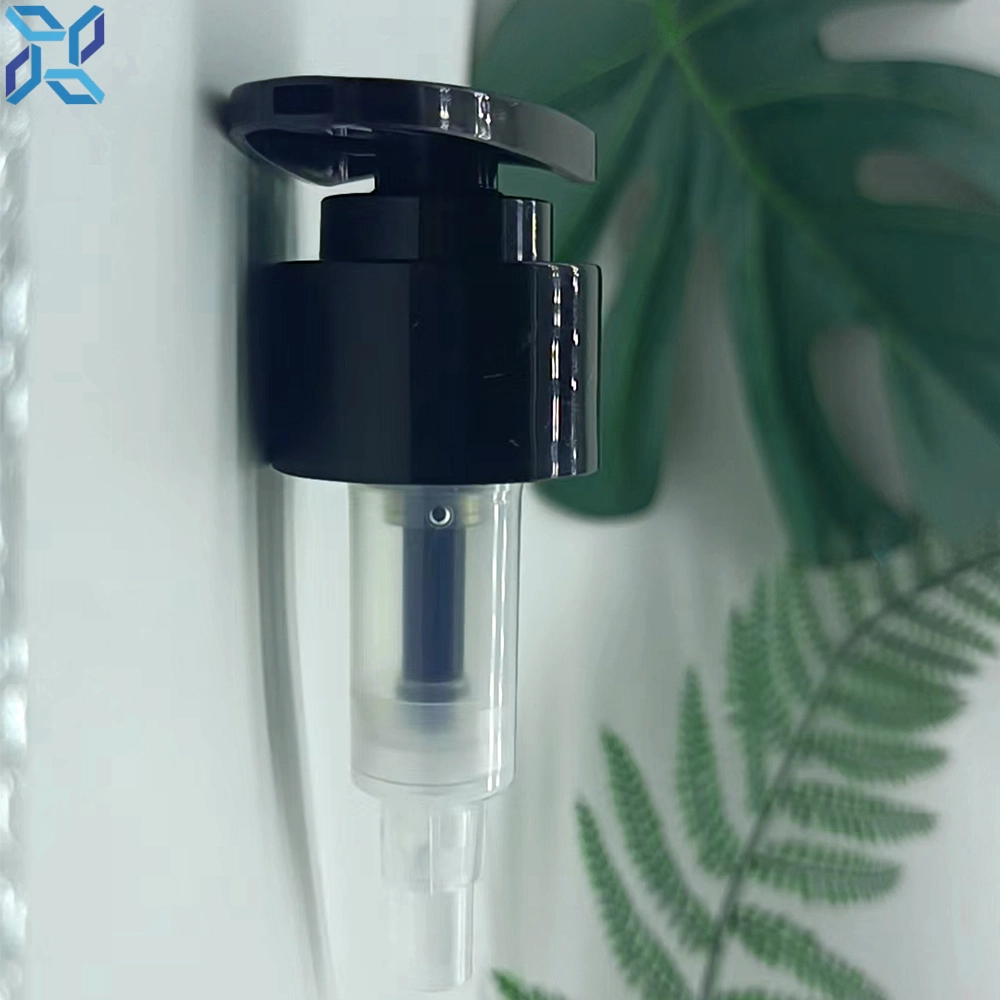
Luxury Liquid Dispenser Aluminum Lotion Dispenser Pump For Cosmetic Bottles
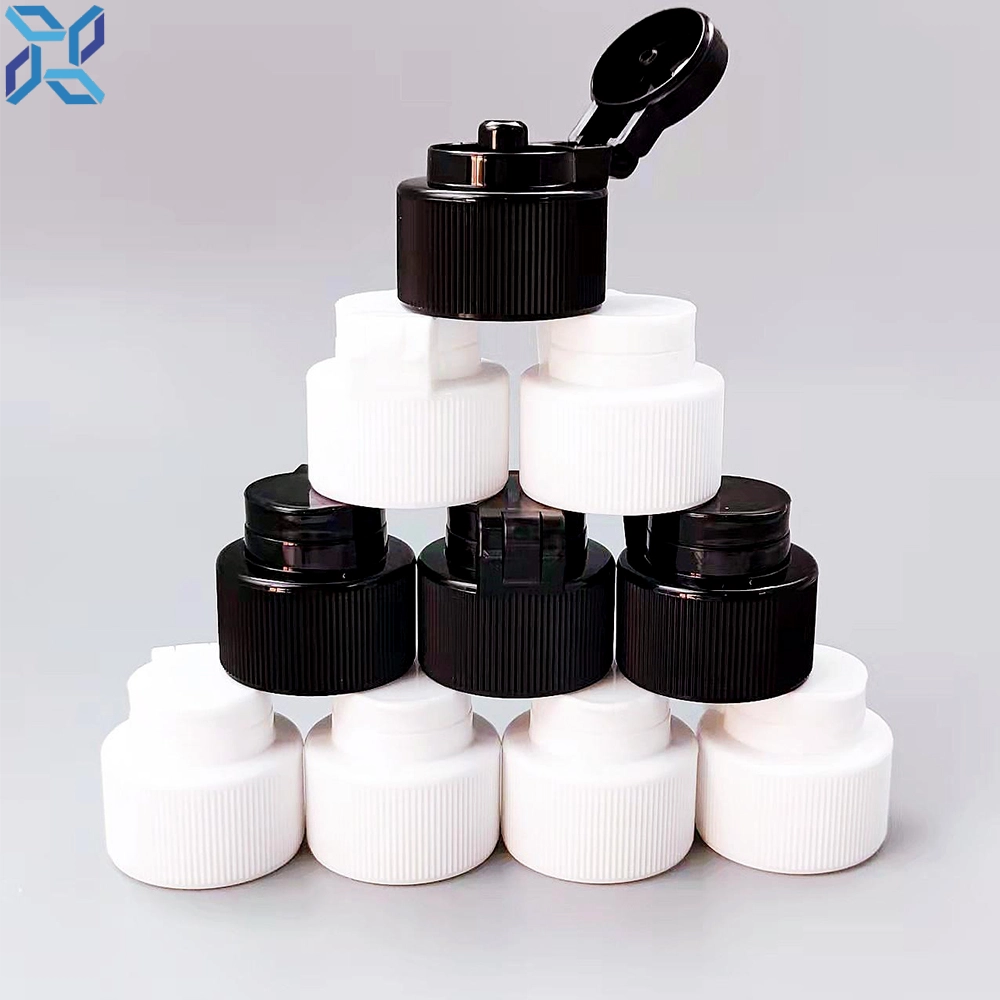
OEM Injection Mould Design Plastic Double Opening Caps for Plastic Glitter Shaker Bottles
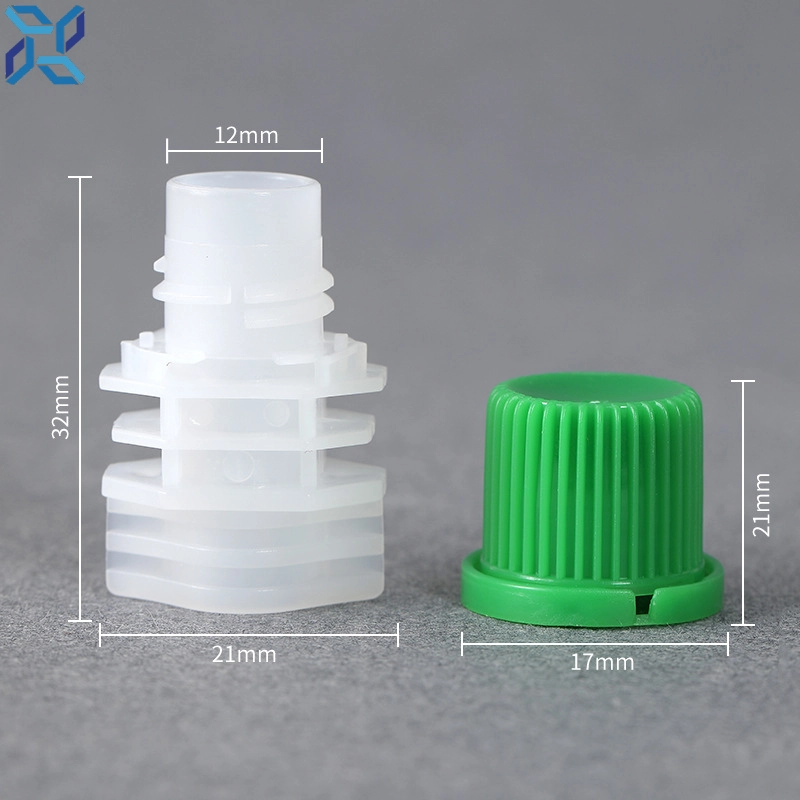
China recycled pouch caps juice pouch cap for food pouch
Discover the eco-friendly China recycled pouch caps by Xinda Pelosi.
Engineered for food pouches, our pouched suction nozzle and caps ensure freshness and convenience.
Ideal for brands seeking sustainable solutions, purchase recycled pouch caps to enhance your product packaging with our innovative pouch spout cap design.
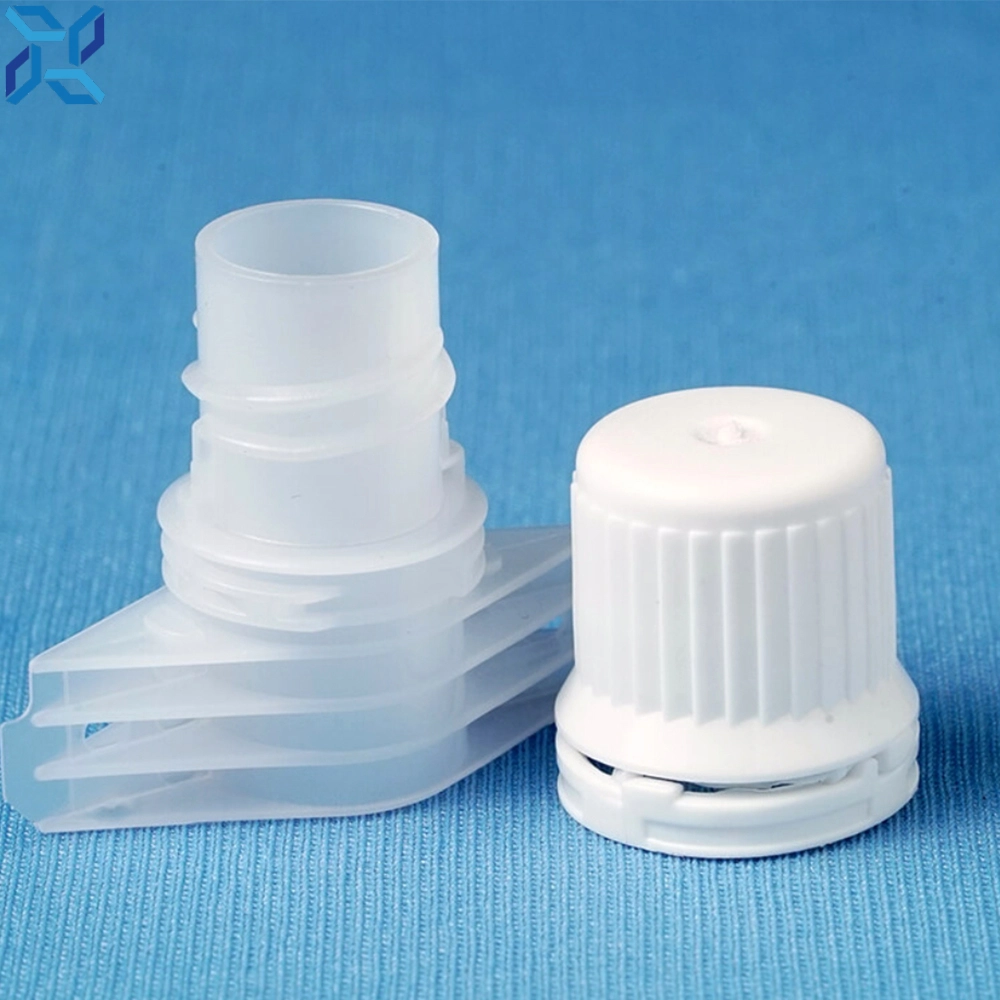
Customized spouted stand up pouch plastic spout water liquid wine pouch spout cap
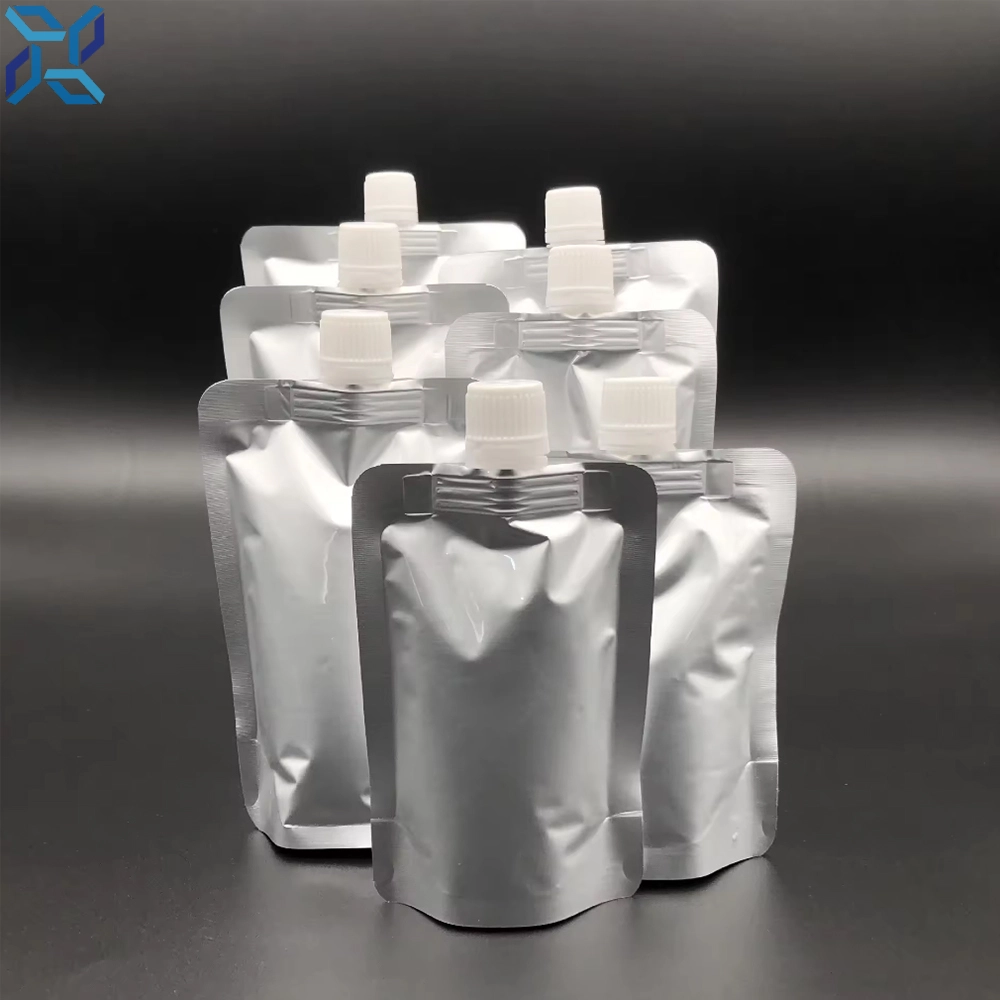
Customized Printing Plastic Zipper Top Stand Up Mylar Bags For Snack Chips Packaging
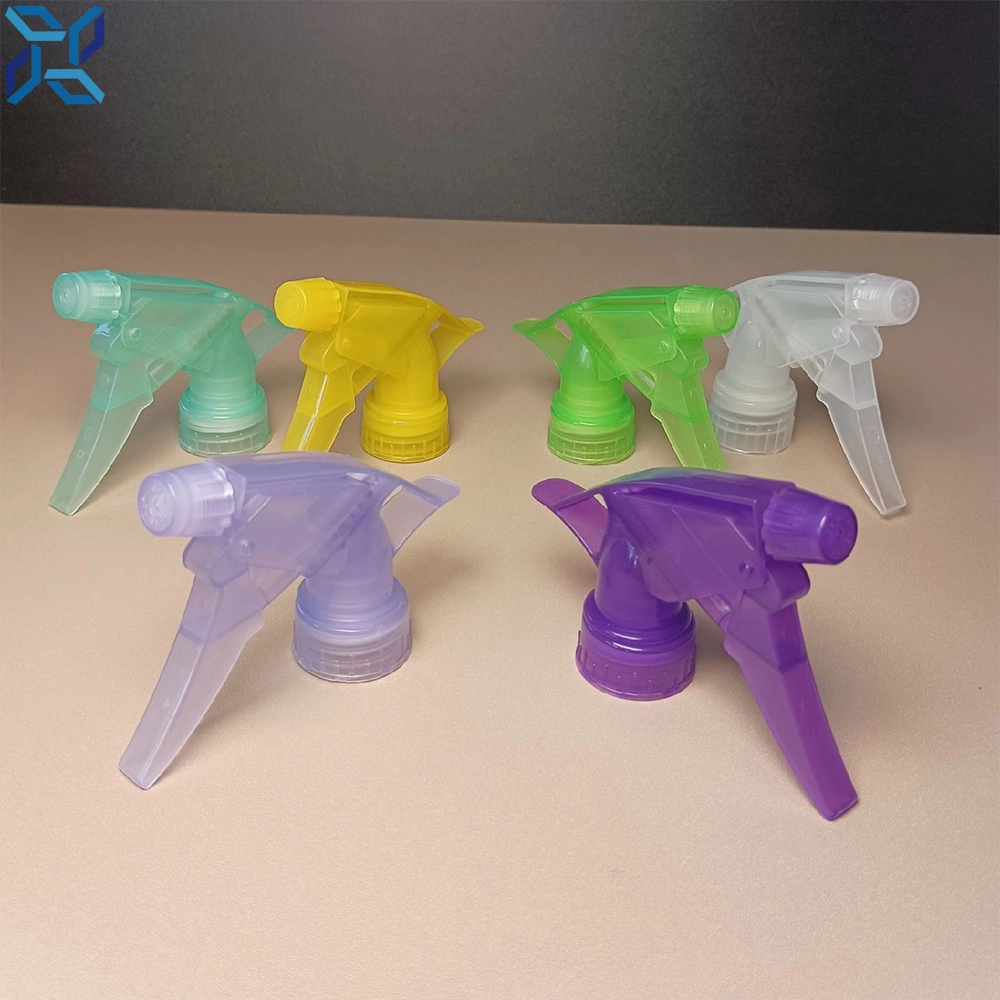
Closure Heavy Duty Spray Trigger Nozzle PP Plastic Type Heavy Duty Trigger Spray Bottle Wholesale
Get in touch with Xinda pelosi
Have any questions or queries about our products? Please leave us a message here and our team will get back to you promptly.
Your inquiries, ideas, and collaboration opportunities are just a click away. Let's start the conversation.
* Rest assured that your privacy is important to us, and all information provided will be handled with the utmost confidentiality.

 Scan QR Code
Whatsapp: +8613640286461